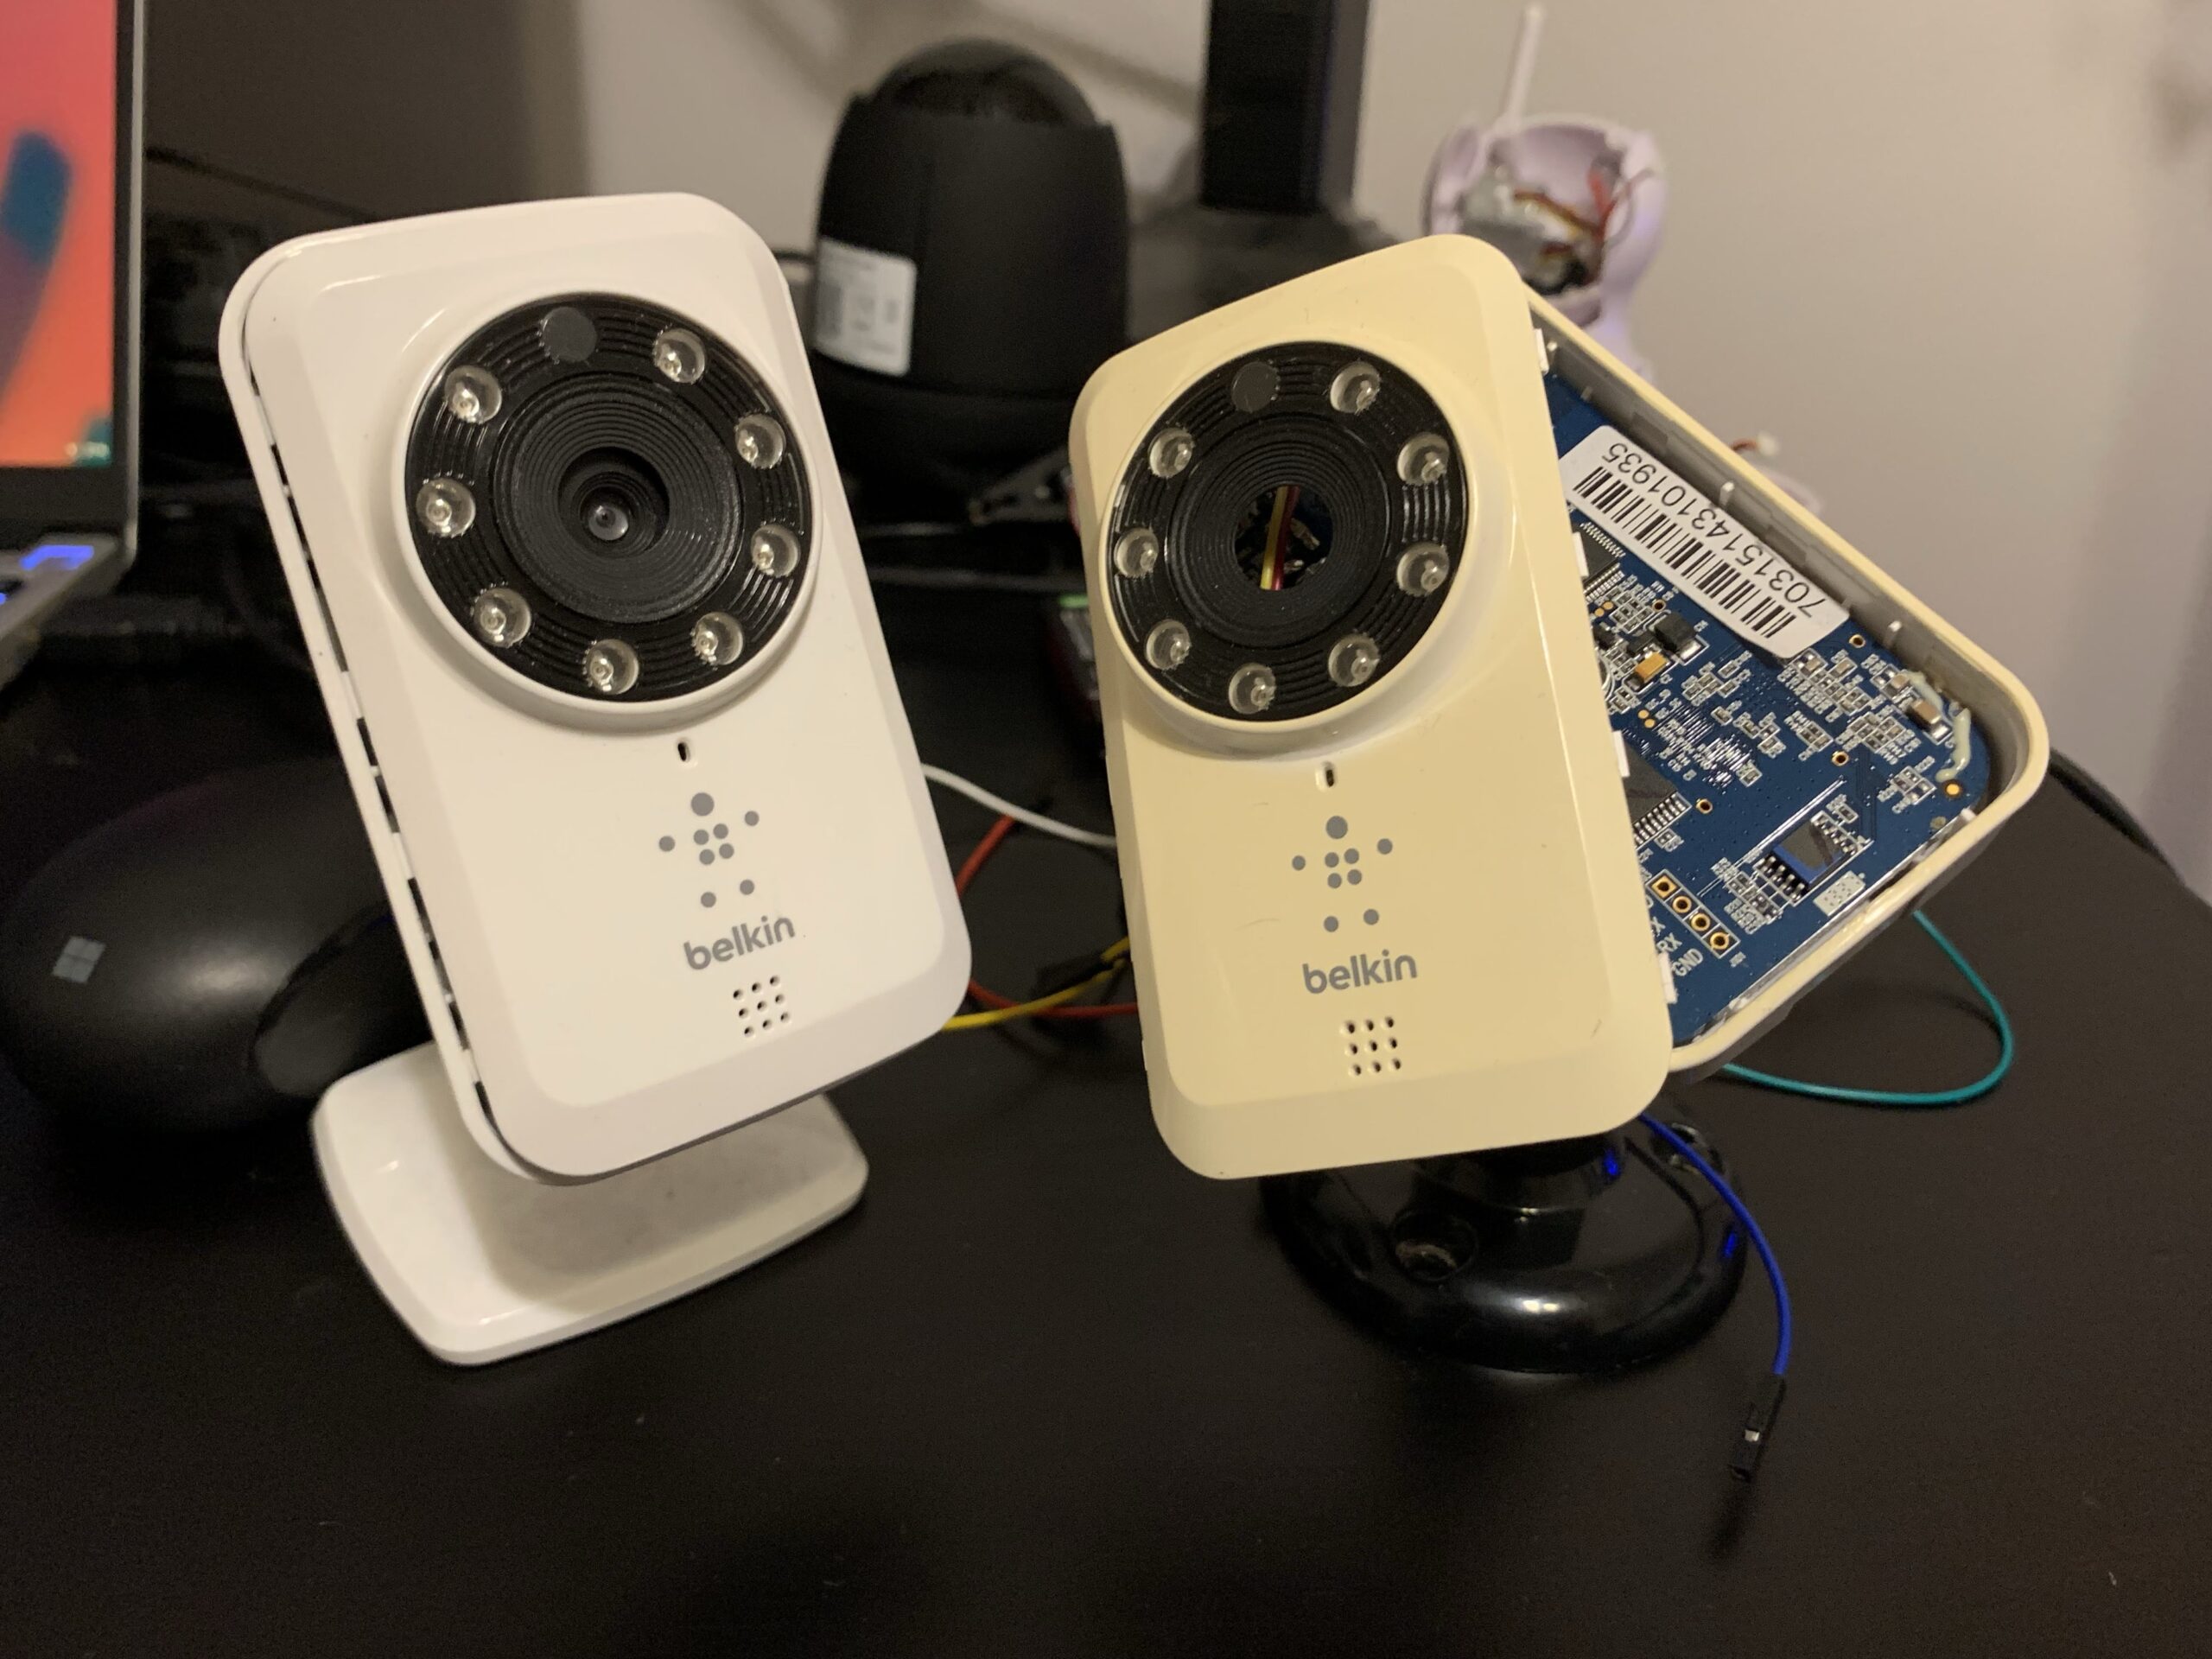
A while ago, I found two of these cameras at a Goodwill for 99c each and picked them up without doing even a second of research. At this point, I wasn’t too familiar with IP cameras and just assumed Home Assistant (which I was knee deep in the weeds with at the time) would support them magically. I was very wrong.
I started looking around online and after a little research, I found that these cameras had their firmware pretty much bricked in 2020. People had them working before, but Belkin pushed out a firmware update that disabled all functionality of the device besides one little hidden MJPEG stream I could view with the device in “setup” mode. This only allowed authentication once, which means even if network connectivity was lost, I’d have to reboot the device and reauthenticate. This was a lot less than ideal so I looked for any custom firmware available for it.
After some more research, I found the following article on the Wansview NCS601W. It looks like someone had ported a clone device over to OpenWRT! This was huge news. It even looks like they were able to get the camera working with Motion after some modifications. I bought myself a UART to USB adapter and was able to get it booted up. At this point, I was fully invested in getting these things working. But there was one big roadblock I couldn’t get over.
The workaround in the article was not working for me. Nowhere in multiple different version of the motion source code that I could find included the line(s) I supposedly needed to change. At this point, I had no idea what v4l2 even was and felt way in over my head as I didn’t have any experience in OpenWRT either! I was so deep into general research I couldn’t even tell you where my thought process was or how I came about this next website. I happened upon a PDF of the model of webcam used and instructions on how to recompile the kernel to get this webcam to work properly. This was good news and bad news for me. Good news was that it looks like there was another way to get the camera working! Bad news was I had no idea how to go about navigating the OpenWRT source code and/or the kernel to get this fix applied.
I made a post on the OpenWRT forum hoping someone would be able to help me and my goal was to leave it alone for a while. But then, after staring at all the same posts and forums I had already seen 1000 times (I swear EVERY single link relating to this webcam was purple) and learning more and more about cameras and Linux, I finally realized something. Looking at the PDF provided by the manufacturer, I realized some of the modifications they were making wasn’t very complicated. It looked like the bulk of the effort was applying 2 UVC quirks to the driver. I tried applying these quirks to the kernel module and it worked! I had video in both Motion and mjpg-streamer! I started off with Motion first but found mjpg-streamer to be more straightforward and stuck with that for quite a few weeks. I was completely satisfied and it wasn’t until later while doing a different project I realized I might be able to get the microphone working, too.
I had learned about and started playing around with ffmpeg and found there was a package for it compiled for OpenWRT! After confirming there was an alsa device available within the camera, I was ready to go! Unfortunately, the limited flash space within the Netcam wasn’t going to allow for the massive ffmpeg installation no matter what packages I tried. I also learned to build custom OpenWRT images and none of them were small enough. This lead me to another option: Gstreamer.
Gstreamer also has precompiled packages ready to go and split up into lots of little modules so I could install only exactly what I needed and nothing more. I was going to need all of the flash space I could get. Using the OpenWRT image builder helped out a lot with this. Now, I just needed to find the right command with the right parameters and modules to give me an output I could do something with. This part was a little less interesting and involved a lot of trial and error. I was able to get the following command to stream both audio and video from the Netcam.
Although this was functional, I wasn’t satisfied with the performance. For some reason, the gstreamer pipeline refused to work without both decoding and reencoding the mjpeg stream within the pipeline and this was putting a lot of load on the poor Netcam’s CPU causing massive latency for the whole stream and quite a bit of delay between the video and audio. Running just the audio was within the capabilities of the little Ralink chip, but trying to decode and encode video seemed like a bit too much. I had a feeling there had to be another way around this as MJPEG streamer worked perfectly. So I had an idea: why not just use mjpg-streamer for the video instead and combine it with the Gstreamer audio? Luckily, there’s an application just for that: go2rtc.
And sure enough, I was able to get a low latency RTSP stream with audio and video. I gotta say, this felt pretty amazing. But, of course, I wasn’t done yet. I wanted to control the IR LEDs, too. As of right now, I was using what I found from the very first article to keep the LEDs on 24/7, but I want to use these as long as possible and would hate the LEDs to burn out on me prematurely. And besides, I had gotten this far, why not go all the way and restore every last bit of functionality from this device? A quick bash script exported the value of every single GPIO found in that first article and I covered the sensor to see if any of them changed. Sure enough, it looks like GPIO7 is the only one that changed! It also looked like the value was 0 when the lights are on and 1 when the lights are off so I could just pipe the value of one into the other. Cool!
Just when I thought I was done, I remembered the little switch in the back of the device that switched it from normal mode to configuration mode. I figured I might as well also give this some use, as the article had found that was GPIO0. I simply added a quick if statement to the rc.local script that checks to see if the switch is in camera or config mode. If it’s in camera mode, it will start streaming. If it’s in config mode, it will boot up without anything running.
Now, using the image builder again, I could take all of the customized files and settings and pack them into a single image along with a few config files to make the process smooth for anyone who wants to try it out. I’ve uploaded this to GitHub with a prebuilt image and all of the files if you choose to build it yourself. I’ve tried to flash newer than 19 but ran into nothing but issues. Apparently, according to OpenWRT’s table of hardware, this configuration is unsupported anyways (not that an 19 install would be supported at all in 2024). I get a variety of errors with a variety of images, most of which are related to running out of memory. As the base OpenWRT image grows, I’m also going to run out of room for the Gstreamer packages. Because of all of this, I think I’m okay with keeping it as is. I would recommend a separate IoT/Guest network to put any devices like this in, anyways. If someone does end up getting a newer image to work, that would be awesome.
I learned a whole lot from this process and I hope my findings will be able to keep at least a few more of these little cameras out of a landfill! See all the scripts and a more detailed install guide on my GitHub here!
Leave a Reply